Autumn Hedgerow Sketching Challenge: 7 Weekly Prompts
A hedge in late September is doing three things at once. There is still new growth on the bramble tips, the first haws are turning from orange to a deep dull red, and the hogweed stems have gone the colour of old bone. By November the same hedge will be a tangle of wet twigs and thorns. That change is the point of this challenge: for seven weeks you draw the same stretch of hedgerow as it strips back, and you finish with a sketchbook that reads like a calendar.
Why hedgerows, and why seven weeks?
Hedgerows are the best-value subject in British drawing. Everything in them holds still, sits at arm's length, and offers four or five textures within a single square metre: glossy berries, brittle seed cases, leathery leaves, furred lichen, dry grass. You do not need a studio, a view or good weather. You need a verge, a coat with a decent pocket, and half an hour.
Seven weeks matters because autumn rewards returning. A hawthorn branch heavy with berries on week one is a different drawing exercise by week six, when the same branch shows you its thorns and the small scar where each leaf was attached. Drawing the same subject twice is where progress lives — and coming back weekly is a gentler way to build a habit than chasing a new subject every day.
How the challenge works
Choose a stretch of hedge you can walk to in ten minutes. It does not need to be special; a lane end or the edge of a playing field will do. Go once a week, sketch for twenty to forty minutes, and keep everything in one book.
- One prompt a week. The list below runs roughly from easy to demanding.
- Same hedge every time. Note the date, the weather and roughly where you stood.
- Small is fine. Three thumbnails the size of a credit card beat one overworked page.
- Do not rub out. Corrections show you what you were looking at.
- Resolve one study. Scratchy drawings are allowed; one properly finished sketch per trip is plenty.
If the weather ruins a week, shift the whole sequence along. The prompts matter more than the dates.
The seven weekly prompts
Week 1: Haws and hips
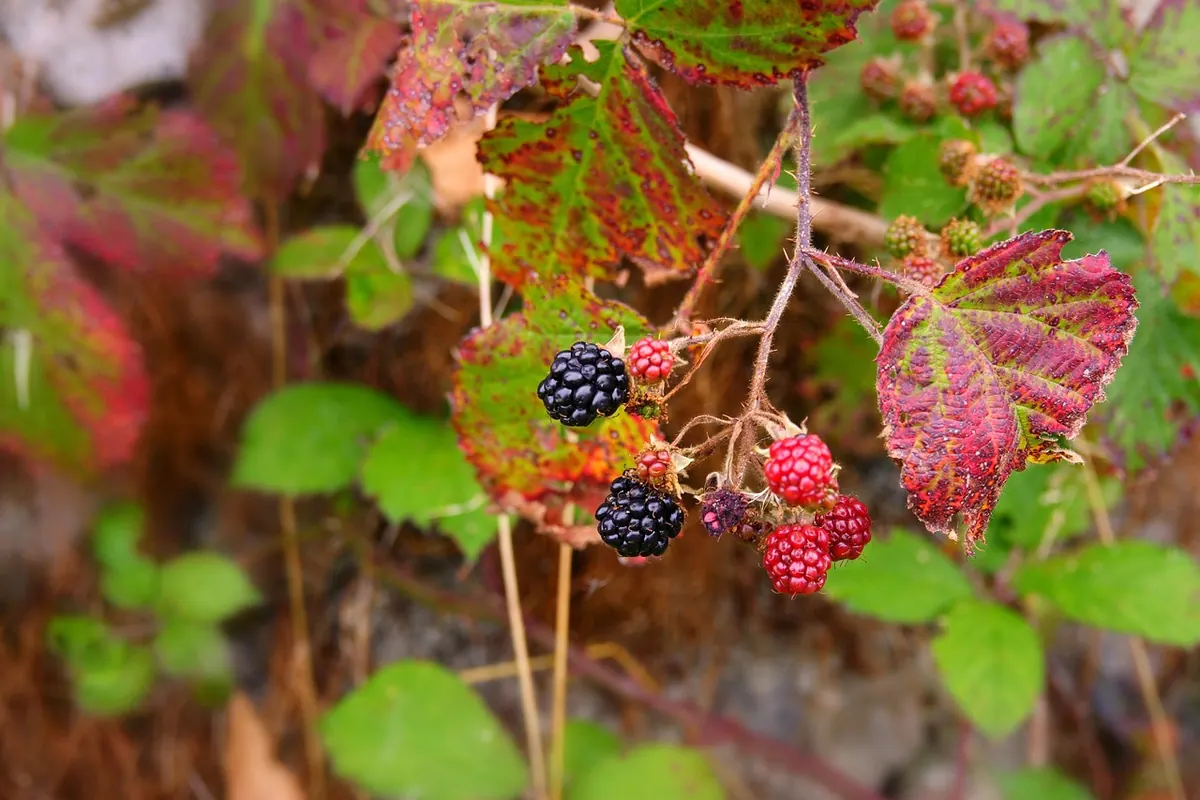
Start with berries, because they give you clear shapes and easy contrast. Draw a group of five to seven rather than fifty. Squint until the cluster becomes one dark shape, block that in first, then pick out the individual berries and leave the brightest highlight as bare paper or add it with a white gel pen.
Week 2: Seed heads
Hogweed, teasel, wild carrot, thistle. Hold the stem steady with your non-drawing hand or rest it against your knee, and work from the silhouette inwards. Note how wild carrot spokes curl inward as they dry, like a closing fist. Do not draw every seed; draw the pattern of gaps between them.
Week 3: Leaves
Bramble, field maple, ivy, hawthorn. Put three different leaves on one page and compare them. Check the number of lobes, whether the edge is smooth or toothed, and where the veins meet the midrib. Draw the outline lightly first, then commit.
Week 4: Bark, moss and lichen
Ash is smooth and greyish when young and ridged when old; elder has corky bark speckled with lenticels; blackthorn is darker and rougher than you expect. Use the side of a soft pencil and draw the direction of the ridges rather than each ridge, then add the shadows sitting in the crevices. That is what makes bark look three-dimensional.
Week 5: Sloes, bloom and backlighting
Sloes are the best colour exercise in the hedge: dark violet fruit under a dusty blue-grey bloom. Lay a thin wash or a light pencil layer first and leave the shine untouched — a highlight placed on top of colour always looks chalky. If the sun is low, try one leaf held up against the sky to study how light passes through it.
Week 6: Thorns and twig structure
The hardest prompt, and the most useful. Draw one twig as a small diagram: how it leaves the main stem, the angle it takes, the buds and the leaf scars. A fine-liner suits this better than pencil. Then draw twigs from three species side by side and notice how differently they branch.
Week 7: The whole hedge
Finish with a vignette about fifteen centimetres wide, showing a section of hedge from the base up. Decide in advance what to leave out. Combine the textures you have practised: bark at the bottom, a seed head, a spray of berries, one clear twig in silhouette. The empty spaces are doing as much work as the marks.
A kit that fits in a pocket
- A hardback sketchbook, A6 or A5, so it survives a pocket and a damp bench.
- A 2B pencil and a small sharpener.
- A 0.3 fine-liner for twigs, thorns and leaf edges.
- Either a small watercolour tin with a water brush, or three coloured pencils — one dark red, one blue-grey, one ochre.
- A folded square of kitchen paper, and a plastic bag to sit on.
When it goes wrong
The berries look like marbles. You are drawing objects instead of light. Sketch the negative shapes between them first; the gaps are often more interesting than the fruit.
The leaves look flat. Add a cast shadow underneath. A leaf drawn with the shadow it throws onto the twig immediately sits in space.
Everything looks the same. Change tool for one week only — coloured pencil instead of graphite, or brush instead of pen — and the subject will surprise you again.
Your hands are cold. Fingerless gloves, or gloves with the thumb and first two fingertips cut away, and a thermos. Sketching badly in comfort beats sketching well while miserable.
Hedgerow manners and staying safe
Work from the field side of the verge where you can, and give roadside hedges a wide berth on lanes without a pavement. If you are unsure whether picking is allowed somewhere, draw the plant where it grows rather than taking it home. Leave most of the berries for the birds, take nothing from a hedge that looks heavily stripped already, and never taste anything from a hedgerow unless you are certain what it is. Wash your hands afterwards, and keep them away from your face while you work.
Finishing the seven weeks
Date every page as you go, because in December you will not remember which drawing came first. Photograph each spread in daylight while the colours are fresh, then lay week one next to week seven and look honestly at what changed: line confidence, proportion, how much you left out.
Pick one study you liked and redraw it larger at home, slowly, from memory and the hedge itself. That drawing is your baseline. Then keep the book going — the same hedge in February, when the buds swell and the structure you practised in week six is all that is left, makes a natural second challenge.
Photo: 2taol / Pixabay

You Might Also Like
A 30-day drawing challenge using household objects, with a week-by-week list, plus practical tips on observation, line confidence and shading habits.
Artist's block is rarely about missing supplies. Five free drawing exercises — timed studies, blind contours, master copies and more — to get your hand moving again.