Graphite Pencils Compared: H, HB, B and 2B for Beginners
Four pencils, all grey, all about the same length, and yet they behave like completely different tools. Pick up an H after a 2B and your line goes from soft and dark to faint and silvery in one stroke. That difference is the whole reason pencil grades exist, and understanding it saves you a lot of muddled drawings.
This is a working comparison of the four grades beginners meet first: H, HB, B and 2B. Not a history lesson — just what each one does on paper, where it struggles, and when to reach for it.
What the letters actually mean
Graphite pencils are graded by how much clay is mixed with the graphite. More clay means a harder pencil, a lighter line and a point that stays sharp. More graphite means a softer pencil, a darker line and a tip that flattens fast.
H stands for hard, B for black, and HB sits in the middle. The scale runs from around 9H (very hard, very light) to 9B (very soft, very dark), with F and HB near the centre. Grades are not perfectly standardised between brands, so a 2B from one maker can feel closer to a 3B from another. Worth testing before you buy a full set.
H pencils: light, precise, easy to overdo
An H lays down a thin silver-grey line. It holds a sharp point for ages, which makes it excellent for blocking in proportions, drawing construction lines, and building fine hatching on small formats. If you like precise, technical-looking drawings, an H or 2H is your friend.
Its weakness is pressure. Bear down with an H and you emboss a groove into the paper. Later shading skips straight over that groove, leaving a pale ghost line you cannot remove. Push harder still and the graphite burnishes to a shine that erases badly. The rule with hard pencils is simple: keep the touch light and let the grade do the work.
Best uses for H
- Faint underdrawing you plan to erase
- Construction lines and proportion checks
- Fine, close hatching on small drawings
- Crisp edges where you want control, not darkness
HB: the dependable middle
HB is the grade in most school pencil cases, and for good reason. It is dark enough to read clearly, hard enough to keep a usable point, and it smudges only mildly. For line drawings, thumbnails in a sketchbook and blocking in shadow shapes before you commit, it does the job without fuss.
What it will not do easily is deep black. Building an HB up to a rich, velvety dark takes a long time and often ends up looking shiny. Use it for structure and mid-tones, then switch.
B: the sketching sweet spot
A B pencil is noticeably softer and darker than HB. A light touch gives a confident, visible mark, which is why so many people find it the most pleasant grade to draw with. Loose sketches, gesture lines, main outlines and mid-dark shading all suit it well.
Two trade-offs. It dulls faster, so you will sharpen more often — keep the point short and sharp rather than long and thin, which snaps. And it smudges more than HB, particularly if you rest your hand on the drawing.
2B: for shading and shadow
2B is the grade to buy in multiples. It goes dark with barely any pressure, which makes short work of shading, shadow areas, dark accents and filling in a tonal base. If you only ever add one pencil to an HB, make it a 2B.
The catch is control. A 2B blunts quickly, so fine detail is awkward. It smudges easily, and the heel of your hand will happily drag graphite across clean paper. It also erases less cleanly than harder grades, leaving a grey stain behind. That is not a fault — it is the nature of soft graphite, and it is why you work light to dark and keep soft grades for the later stages.
Side by side: line, smudge, best use
Tested on the same paper with the same pressure:
- H — pale silver-grey line, minimal smudging, sharpens to a fine point. Best for underdrawing, fine hatching and precise edges.
- HB — mid-grey line, mild smudging, holds a point well. Best for general sketching, line work and blocking in.
- B — soft dark grey, moderate smudging, dulls fairly quickly. Best for loose drawing, outlines and mid-tones.
- 2B — deep dark grey, smudges readily, dulls fast. Best for shading, shadows and dark accents.
Test them yourself in five minutes
Brands differ, and so does paper, so run your own comparison on a scrap sheet of the paper you actually draw on.
- Draw a short strip with each pencil, same pressure each time, and label them.
- Add a small patch of hatching beside each strip to see how the grades behave in marks rather than lines.
- Blend half of each patch with a fingertip or a paper stump and see how far the graphite travels.
- Erase the other half of each patch and note how cleanly it lifts.
- Keep the sheet in your sketchbook as a reference you can glance at mid-drawing.
Try it on smooth cartridge paper and on a rougher surface. Tooth grabs more graphite, so soft grades look darker and smudge less on textured paper — an easy way to get more out of a pencil you already own.
Habits that solve most pencil problems
Slip a spare sheet of paper under your drawing hand to stop smudging, and work from top to bottom, left to right if you are right-handed, so you are not dragging your wrist over finished areas. Rotate the pencil slightly as you draw to keep the point even instead of flat on one side.
Keep your sharpener honest — a blunt blade crushes the wood and snaps the lead. Many artists sharpen soft pencils with a craft knife to expose a longer point, but a decent handheld sharpener is fine for a beginner. Build tone in layers rather than pressing once, and keep a kneaded eraser nearby; it lifts graphite without scuffing the paper the way a hard rubber can.
A soft pencil pressed lightly gives you a dark mark and a clean sheet. A hard pencil pressed hard gives you a light mark and a damaged one.
What to put in your pencil case
Start with three: an HB for structure and line, a B for drawing, and a 2B for tone. Add an H or 2H later if you like light underdrawing or fine detailed work. Pair them with a reliable sharpener, a kneaded eraser and paper you enjoy using.
Four pencils, learned properly, will take you further than a box of twenty you have never compared. Draw the same simple subject — a mug, an apple, a folded cloth — with each grade in turn, and the differences will stick in your hand far faster than any chart.
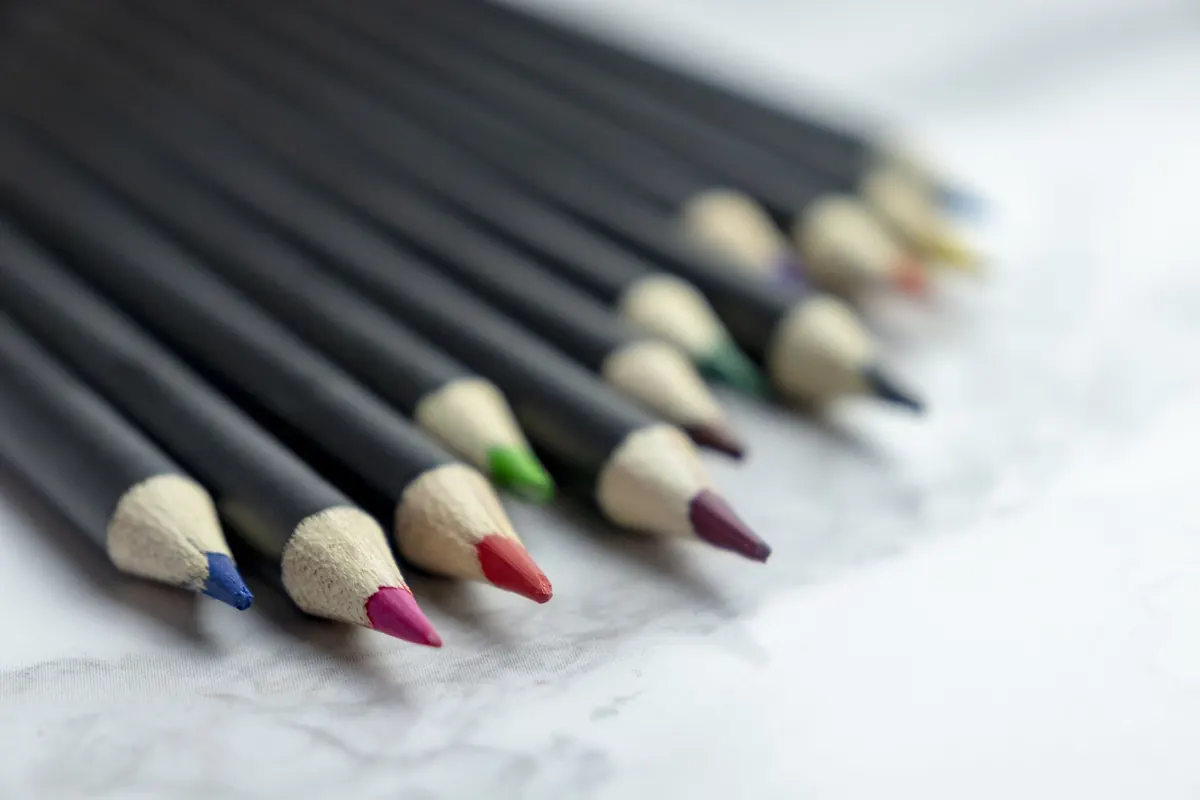
Photo: Metis Photographer / Pexels

You Might Also Like
A 30-day drawing challenge using household objects, with a week-by-week list, plus practical tips on observation, line confidence and shading habits.
Artist's block is rarely about missing supplies. Five free drawing exercises — timed studies, blind contours, master copies and more — to get your hand moving again.